This detailed guide will show you the full OpenVPN Mac OS setup, step by step.
OpenVPN is a popular open source VPN protocol and it is cross platform. While OpenVPN runs on OS X there are no official packages for it. Most VPN services offer their own OS X binaries that will usually support OpenVPN. A popular proprietary cross platform OpenVPN client is Viscosity. It is reasonably priced at $9 and there is a 30 day trial for Windows and OS X. But there are many reasons beyond cost, why a user may want to use an open source client.
A popular open source OpenVPN client for OS X is Tunnelblick. Tunnelblick is released under the GNU General Public License (GPL) and as such all the source code is available. I went ahead and downloaded the latest source repository to take a look. Technically, Tunnelblick is a Graphical User Interface (GUI) that interfaces with the OpenVPN code. The repository includes the OpenVPN source code as well as a few other open source projects it makes use of such as the popular OpenSSL project.
The technical user is free to download the source code and compile their own client if they are so inclined. For the rest of us Tunnelblick provides an Apple disk image that installs as simply as a double-click.
OpenVPN Mac OS tutorial (with screenshots)
1. Download Tunnelblick .dmg file
So, the first thing you need to do is get the .dmg file from Tunnelblick’s site. Unless of course you want to compile your own, but you are on your own for that. You can find a copy of the .dmg file Tunnelblick project page.
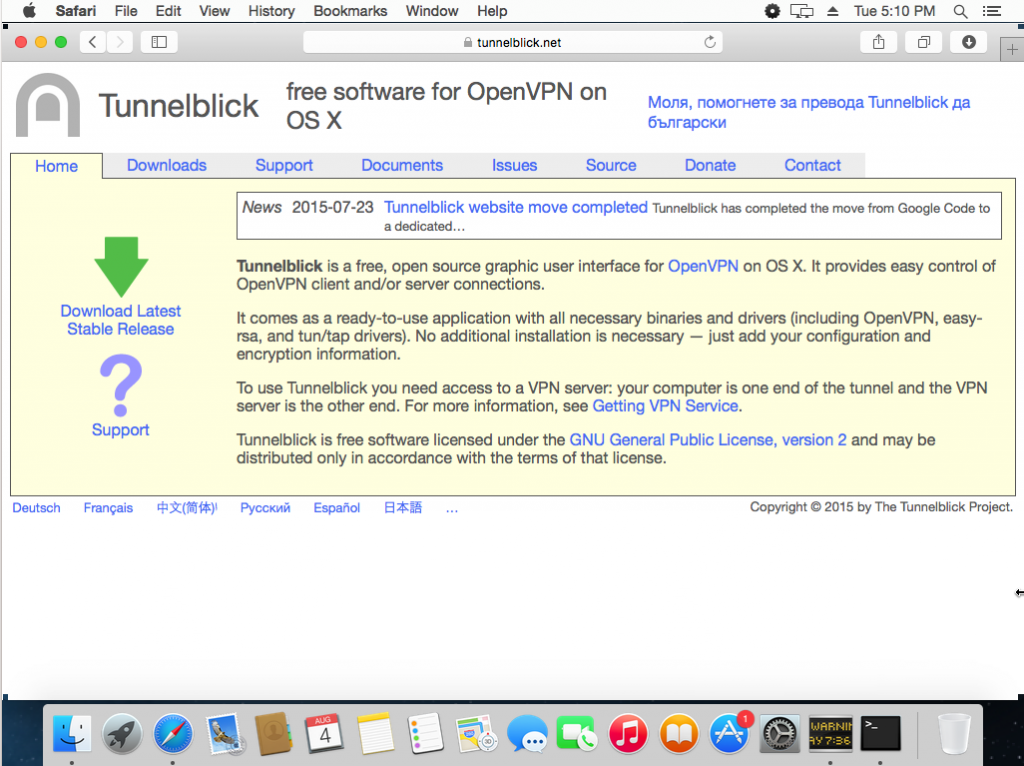
You are most likely going to want the latest release. Go ahead and click the “Download Latest Stable Release” green arrow.
Note: This tutorial was written whilst installing Tunnelblick version 3.5.3 released on July 7, 2015.
2. Verify download
It is a good idea to verify your download. This ensures that the file was downloaded properly and that you have a real Tunnelblick client and are not the victim of a man-in-the-middle attack. OS X comes with a version of OpenSSL built-in and you can use it to generate a SHA1 and/or MD5 checksum of the file.
The SHA1 and MD5 checksums are listed on the Tunnelblick site under their “downloads” page.
Open up a terminal /Applications/Utilities/Terminal and find your file and then type the command “openssl sha1 filename” and/or “openssl md5 filename“.
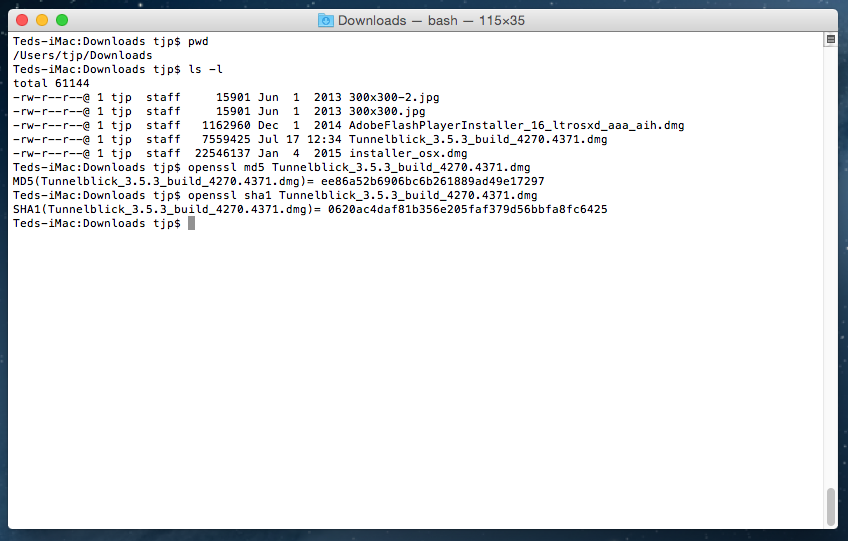
This step is not required but can give you a little extra peace of mind. Compare the checksums to the ones on Tunnelblick’s site. This is what Tunnelblick states about verifying checksums on their site;
In June 2015 there was much discussion (and outrage) about SourceForge providing downloads that contain unwanted or malicious software; SourceForge has changed their policies to help avoid this. Tunnelblick binaries were hosted on SourceForge from the fall of 2013, when Google Code stopped hosting new binaries, until 2015-07-17, when they were moved from SourceForge to GitHub.
Tunnelblick protects against unwanted software insertions by publishing the SHA1 checksum and MD5 hash for each of our downloads. You should verify the checksums and hashes of all Tunnelblick downloads by following the instructions above.
3. Open downloaded .dmg file
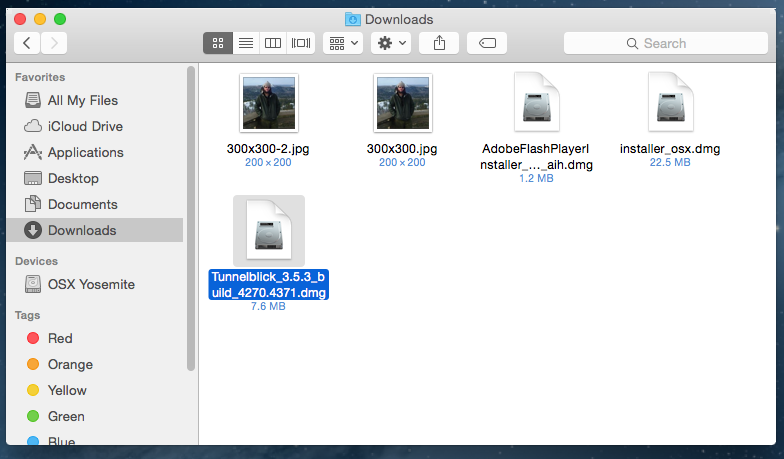
Once you have downloaded the latest .dmg, go to where it is saved and double click the file. There is a good chance the .dmg will also show up in your Dock if you find it easier to open it from there.
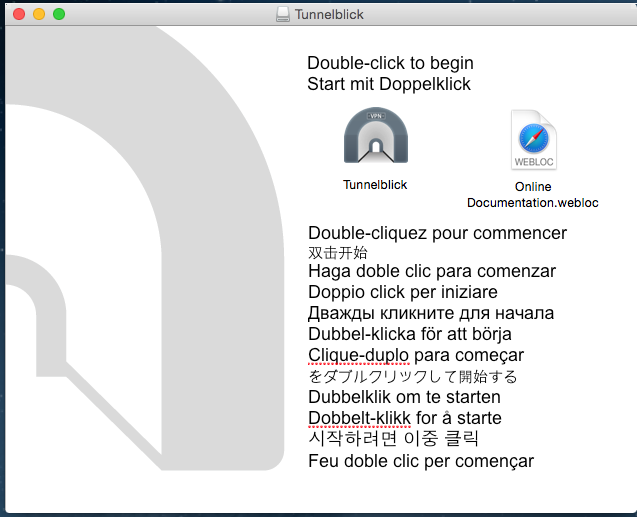
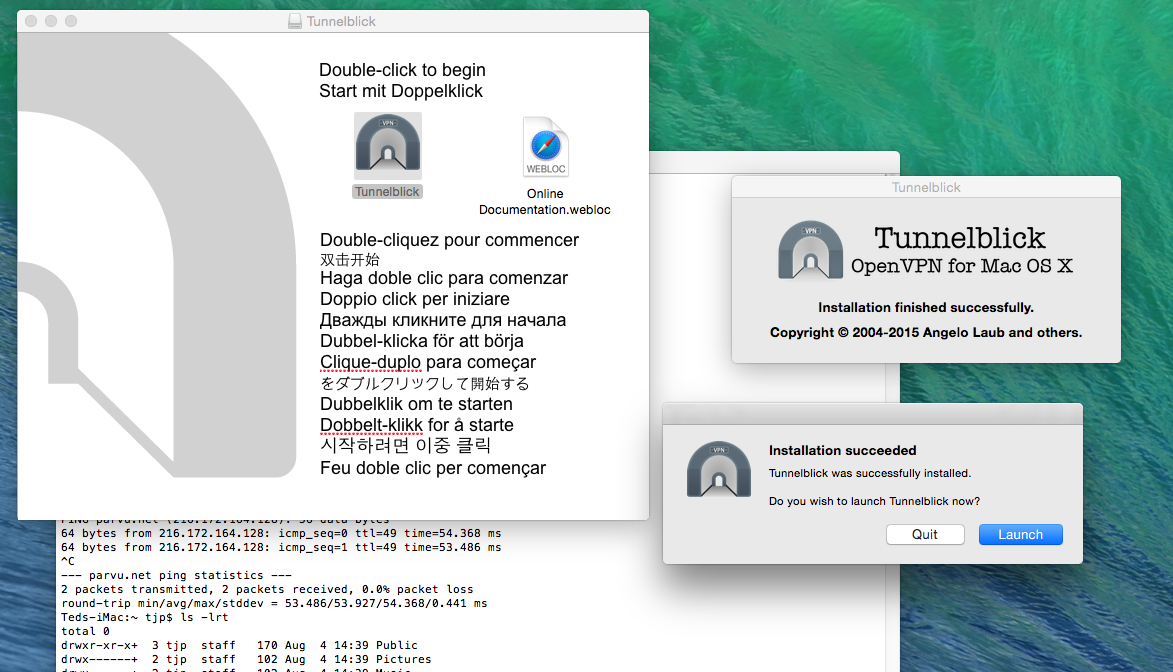
This will open up the disk image and you will see the following.
Note: Depending on your browser settings, the .dmg may have automounted.
4. Installation
Now go ahead and double click “Tunnelblick” icon to start the installation. You will probably get a warning asking if you really want to open this application. Click the Open button to continue the installation. You will probably be asked for your username and password at this point to allow the application access to install. Go ahead and enter it. This authentication is local on your OS X box and is required to install “unofficial” applications. It is an extra security measure from Apple and you are not giving your password to anyone. I mention this because I have seen some users complain that Tunnelblick is capturing their password, but this is not the case. It is your OS that is asking for these credentials.
Once the install is finished you should get a pop-up that will inform you it was successful.
5. Application launch
As you can see above, the application is asking if I wish to “launch” it now. Go ahead and launch the newly installed application.
Once launched, as you probably have no configurations installed, you should see this.
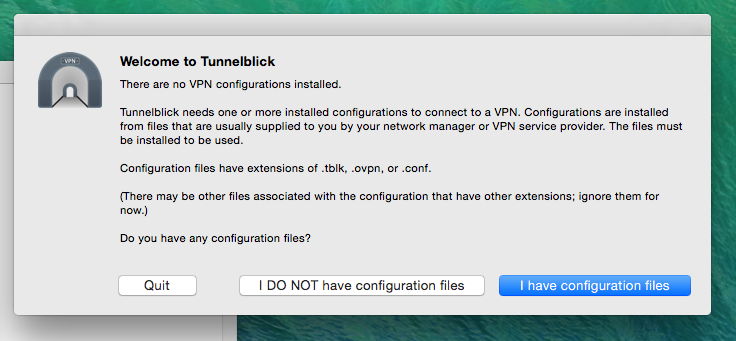
Tunnelblick uses it own style of configuration files, which your provider may offer. The application is also capable of importing OpenVPN configuration files into its own format. Tunnelblick’s configuration format is simply a directory with various configuration files. The one I tested was a directory that contained an .ovpn OpenVPN configuration file.
The first .ovpn file that I tried caused Tunnelblick to complain and rightly so. The file I was using did not have the keys and certificates embedded into it. According to Tunnelblick’s site, I could have put all the appropriate files into a name.tblk directory. In any case, Tunnelblick had no problem importing a .ovpn file as long as it had all the required information.
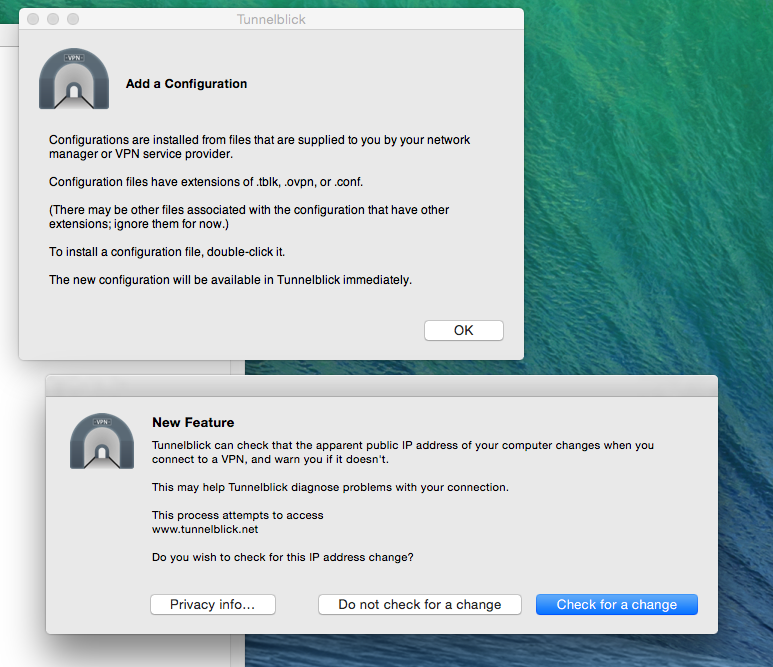
So, the Tunnelblick install sets up a file association with .ovpn, .tblk, and .conf. Which means you can double-click your config file in the Finder or whatever your preference is to import it.
You are also asked if you wish to use the Check for a change feature. According to Tunnelblick’s site;
Tunnelblick does this checking by making a request to the tunnelblick.net website before each attempt to connect to a VPN and after a successful connection is made. As part of its normal website operation, the website keeps a log which includes information about such requests; see tunnelblick.net Privacy for details.
So, this could be a useful feature to ensure that your IP is really changed. However, you are trusting that Tunnelblick operators will not reveal your information. I went ahead and gave this a try and didn’t see what it did at first. But if you look at the log file when you connect to your VPN you will see a before and after IP logged.
There are numerous other ways to verify that your IP has changed that are probably safer. Just one example is googling “what is my ip” before and after you connect to your VPN.
You will also be asked if you wish for Tunnelblick to automatically check for application updates.
6. Configuration file import
At this point Tunnelblick should be running. You can tell because its’ icon will show up in your menu bar.
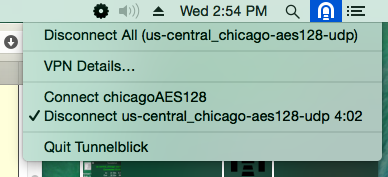
The above image is already connected to a VPN but you will probably still need to import at least one configuration file. As mentioned earlier the Tunnelblick configuration files have a .tblk extension. Again these aren’t configuration files per se, but rather directories.
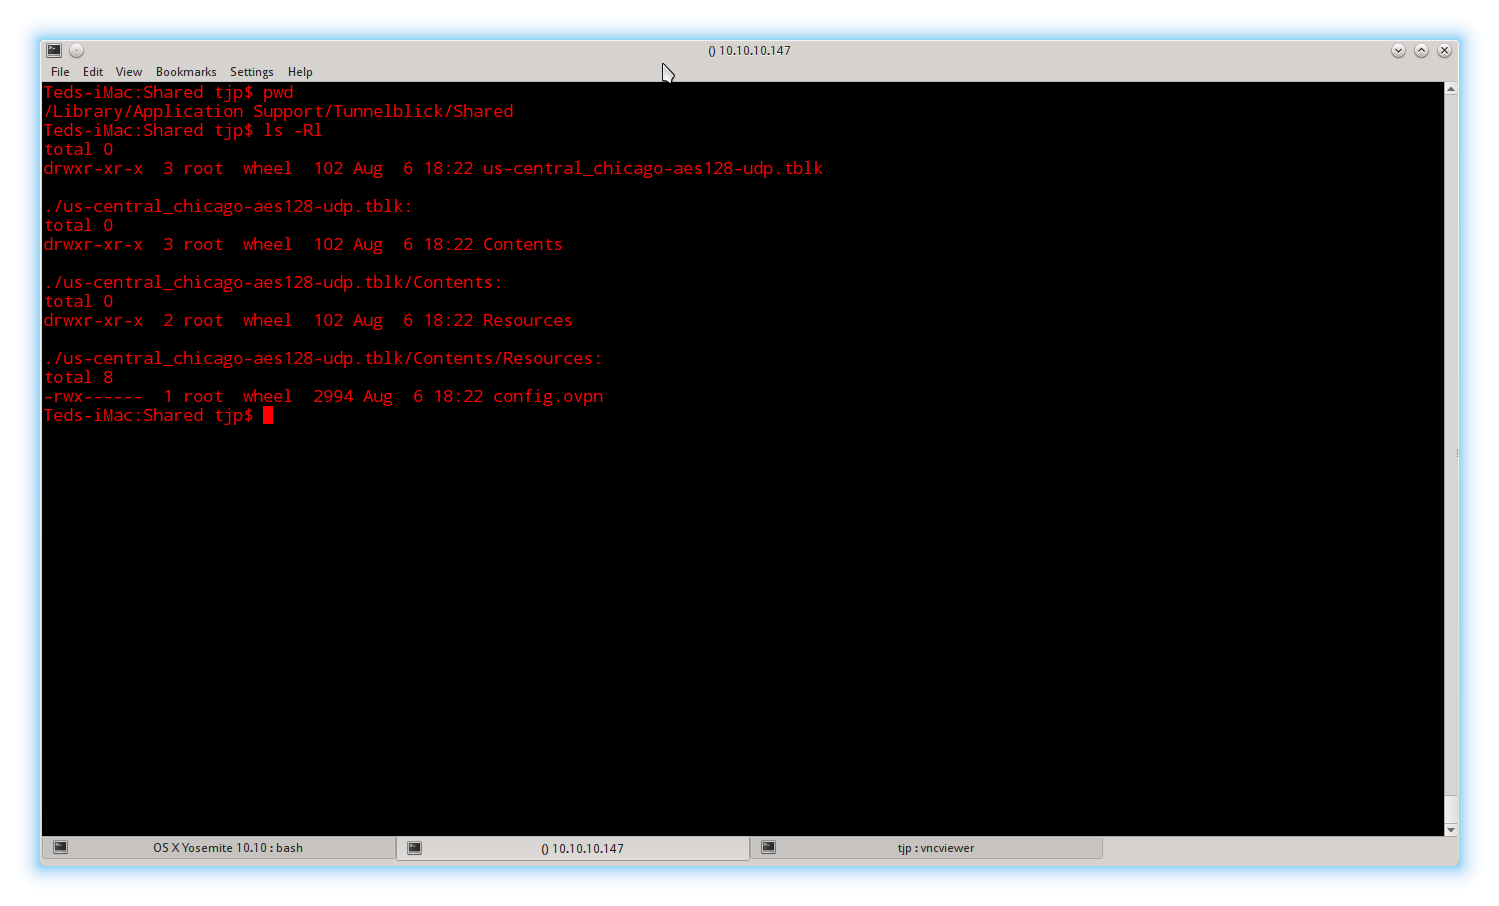
As you can see above, my particular configuration is nothing more than a directory structure containing an OpenVPN configuration file. This particular configuration file has the CA certificate and the TLS key embedded into it. According to Tunnelblick’s site these can be in separate files as long as they are in the same directory.
In any case, just try double-clicking on your .tblk or .ovpn configuration file and see if Tunnelblick can import it. When you do Tunnelblick will ask you if you want to install your configuration for All Users or Only Me.
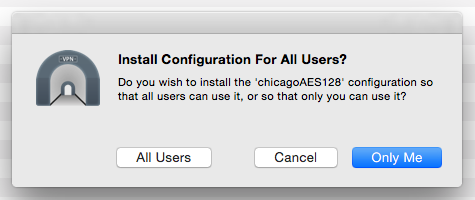
Which does pretty much what you would expect. If you install for just you the configs are stored in ~/Library/Application Support/Tunnelblick/Configurations otherwise in /Library/Application Support/Tunnelblick/Shared.
If you chose to install for all users you will be prompted again for admin privileges to enable Tunnelblick install the files outside of your home directory.
7. Connecting to VPN
Now that you have Tunnelblick installed and at least one configuration it is time to connect to your VPN!
If you look in your menu bar you will see the Tunnelblick icon, go ahead and click it.
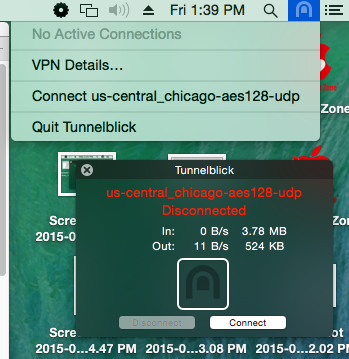
You will get a list of your configured VPNs and a current status. Click Connect to the VPN server you wish to connect to.
8. Authentication
Assuming you are using user/password authentication you will now be asked for your VPN service’s username and password. You will also be given the option to save the username and/or password to your OS X Keychain. If you do save it you won’t have to enter it again. OS X will encrypt Keychain passwords using the 3DES cipher.
Once you have entered your user credentials, Tunnelblick will attempt to connect to your VPN. The Tunnelblick icon will change from greyed out to solid to indicate you are secure. You can also select the VPN Details… option and you will be able to review settings and log files.
If you hover your mouse over the Tunnelblick icon you also get a nice pop-up with details about your connection.
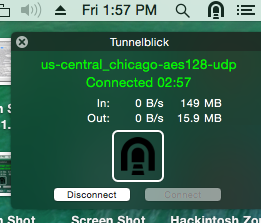
As you can see the status turns from red to green. You can also verify your IP has changed using many other services such as ipleak.net. If you are comfortable with the shell you can check out the ifconfig, netstat, and traceroute commands to verify your data is being routed through your VPN.
All in all, I am quite impressed with Tunnelblick. It is fairly simple to install, open source, and feature rich. Kudos to all those involved in the project. For OS X users, this is a great option for connecting to an OpenVPN server.


hi,
how to know which cipher tunnelblick is using if it’s not displayed in the little window that shows we are connected?
does it offer DNS leak?
thanks
I find Tunnelblick does not cope well after the MacBook is folded and suspends the session. When resuming, the service has usually disconnected and due to the OS recognising the session wasn’t ended correctly, it will not allow a new connection to be made until the MacBook is restarted. Very frustrating. I still cannot find a better method than L2TP from OSX native network connection settings. 3rd parties need to work harder.
Hi Jonny,
Sorry to hear about the issue. Have you checked what the OpenVPN log displays during connection failure? It could be that the tun and tap kexts are not loading up correctly after the computer was in sleep mode. Either way, looking at the logs will help resolve the error much faster.